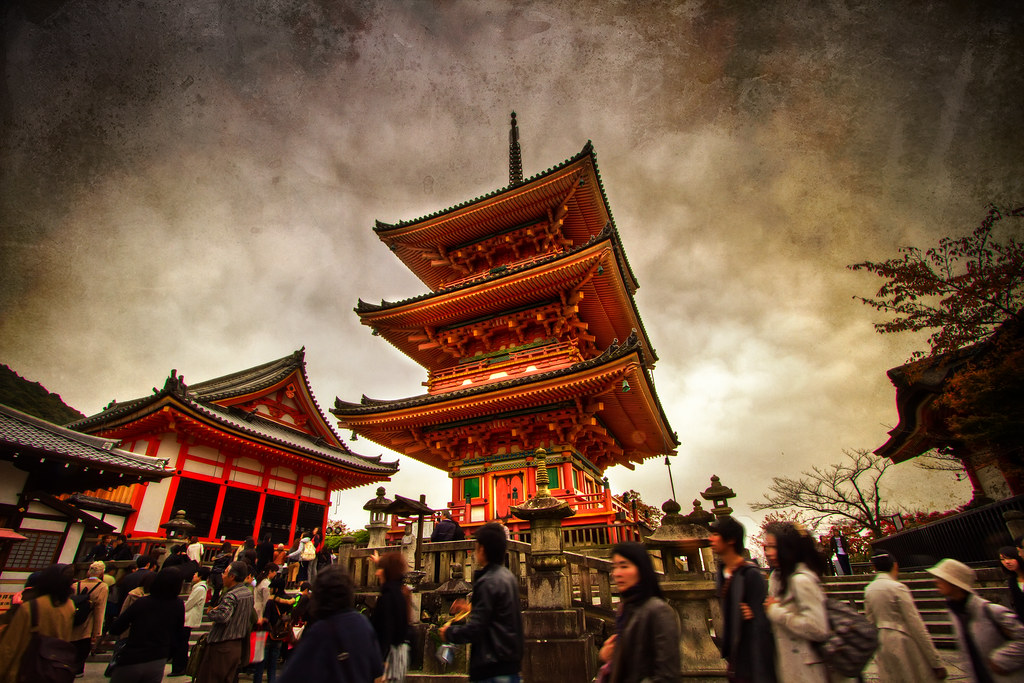
Here is an example of an image after I have applied texture. I find it a little bit more interesting with the strong vignette and classic feel for the the pagoda. I added a texture to this photo because there were too many white spaces in the image and this way, it draws more attention to the pagoda.
1. Open your post processed photo.
To get the best results, you would want to have finished applying most of the major post processing techniques before you apply the texture.

2. Open the texture you fancy
Find a texture you think it will blend perfectly with your current image. SkeletalMess of Flickr provides good textures for free just in case you don't know where to find one.

3. Copy the texture on top of your main image.
There are many ways to stack the texture to your main image. Select All + Copy + Paste usually does the job. But I find this way a little better because I don't get the "Not enough RAM to copy to clipboard" whenever I exit Photoshop (My laptop is freakishly slow).
Click on Window -> Arrange -> Tile
This tiles the images in your Photoshop window. This is more useful you have want to stack a lot of images into one picture.

4. Click on the texture window and drag the layer to the main image. If you have a lot of photos you want to stack, this technique is easier because all you have to do is drag and drop all the layers you want to transfer.

5. Resize the texture to cover your main image using Free-Transform.
Press Ctrl + t on your keyboard and drag the corners of the image to cover the layer below.
4. Click on the texture window and drag the layer to the main image. If you have a lot of photos you want to stack, this technique is easier because all you have to do is drag and drop all the layers you want to transfer.
5. Resize the texture to cover your main image using Free-Transform.
Press Ctrl + t on your keyboard and drag the corners of the image to cover the layer below.
Note: I have seen other tutorials that resize the image based on the pixel count of the main image. I haven't tried it yet to determine if there is a big difference. I'll probably update this photo if I find the differences significant.

6. Ensure that the entire image below the texture is covered completely.

6. Select the blending mode.
Here is where the magic happens. Just select any of the 3 blending modes below that suits your taste. I usually just use 3: Overlay, Soft Light and Hard Light. I think these three are enough to properly blend in the texture to the main image.

Overlay - Middle

Soft Light - Light

Hard Light - Strong

If you've finished selecting your blending mode and still find the effect of the texture too strong, you can always lower the opacity to your liking or use a mask to bring parts of the original photo back.
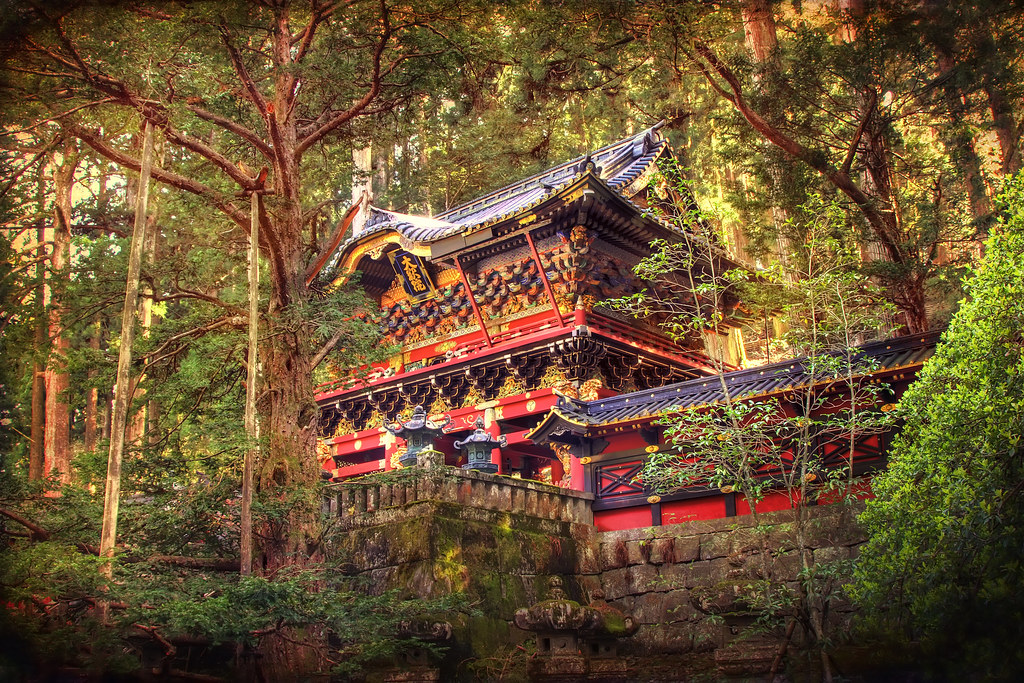
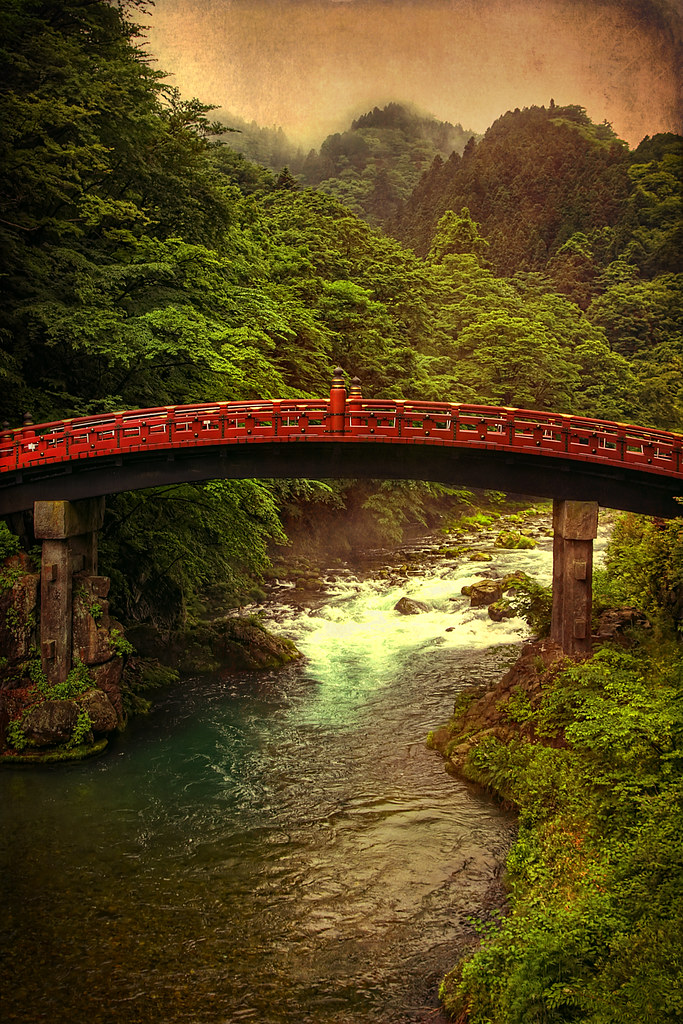
Here are the some other photos of mine where I used the same technique. Enjoy =)
![Fog Fishing [Explored]](http://farm5.static.flickr.com/4136/4737762656_14f69042e0_b.jpg)

6. Ensure that the entire image below the texture is covered completely.
6. Select the blending mode.
Here is where the magic happens. Just select any of the 3 blending modes below that suits your taste. I usually just use 3: Overlay, Soft Light and Hard Light. I think these three are enough to properly blend in the texture to the main image.
Overlay - Middle
Soft Light - Light
Hard Light - Strong
If you've finished selecting your blending mode and still find the effect of the texture too strong, you can always lower the opacity to your liking or use a mask to bring parts of the original photo back.
Here are the some other photos of mine where I used the same technique. Enjoy =)
you can also try the 「multiply」blending mode. :)
ReplyDelete